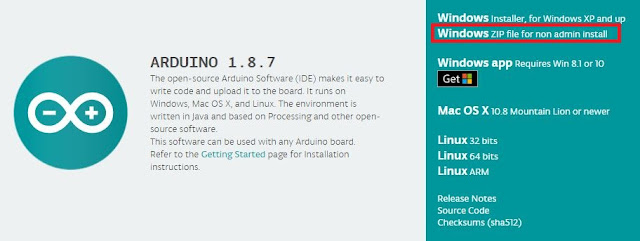
In this Tutorial we are going to prepare our Arduino IDE to program
STM32F103 using Arduino IDE.
Step 1: If you have not installed the Arduino IDE in your Laptop/PC
please download and install the Arduino IDE by clicking the
following link.
Please Click
Here to Download Install Arduino IDE.
Note: Make sure to download your
Corresponding OS software.
Step2: Extract Download ZIP file into your local C drive i.e. C:\
Step3: Open the folder and double click on Arduino.exe and you would see
window as shown.
Step4: After the Arduino IDE open and download the required packages for
the STM32 board. This can be done by selecting
File -> Preferences.
Step5: Clicking on Preferences will open the below shown dialog box. In
the additional Boards Manager URL text box paste the below link.
and press OK.
Step6: Now go to Tool -> Boards -> Board Manager. This
will open the Boards manager dialog box, search for “STM32F1” and install the
package that appears.
Step7: After Installation “STM32F1” package the Board Manager should
like as shown.
Step8: After the package, installation is completed. Go to Tools and
scroll down to find the Generic STM32F103C series as shown below. Then make
sure the variant is 64kFlah type, CPU speed is 72MHz and change the upload
method to ST-Link.
Finally, we have completed the installation process. So we will
see how to Blink on Board LED which is basically Hello World! programme.


No comments:
Post a Comment